Cart
0
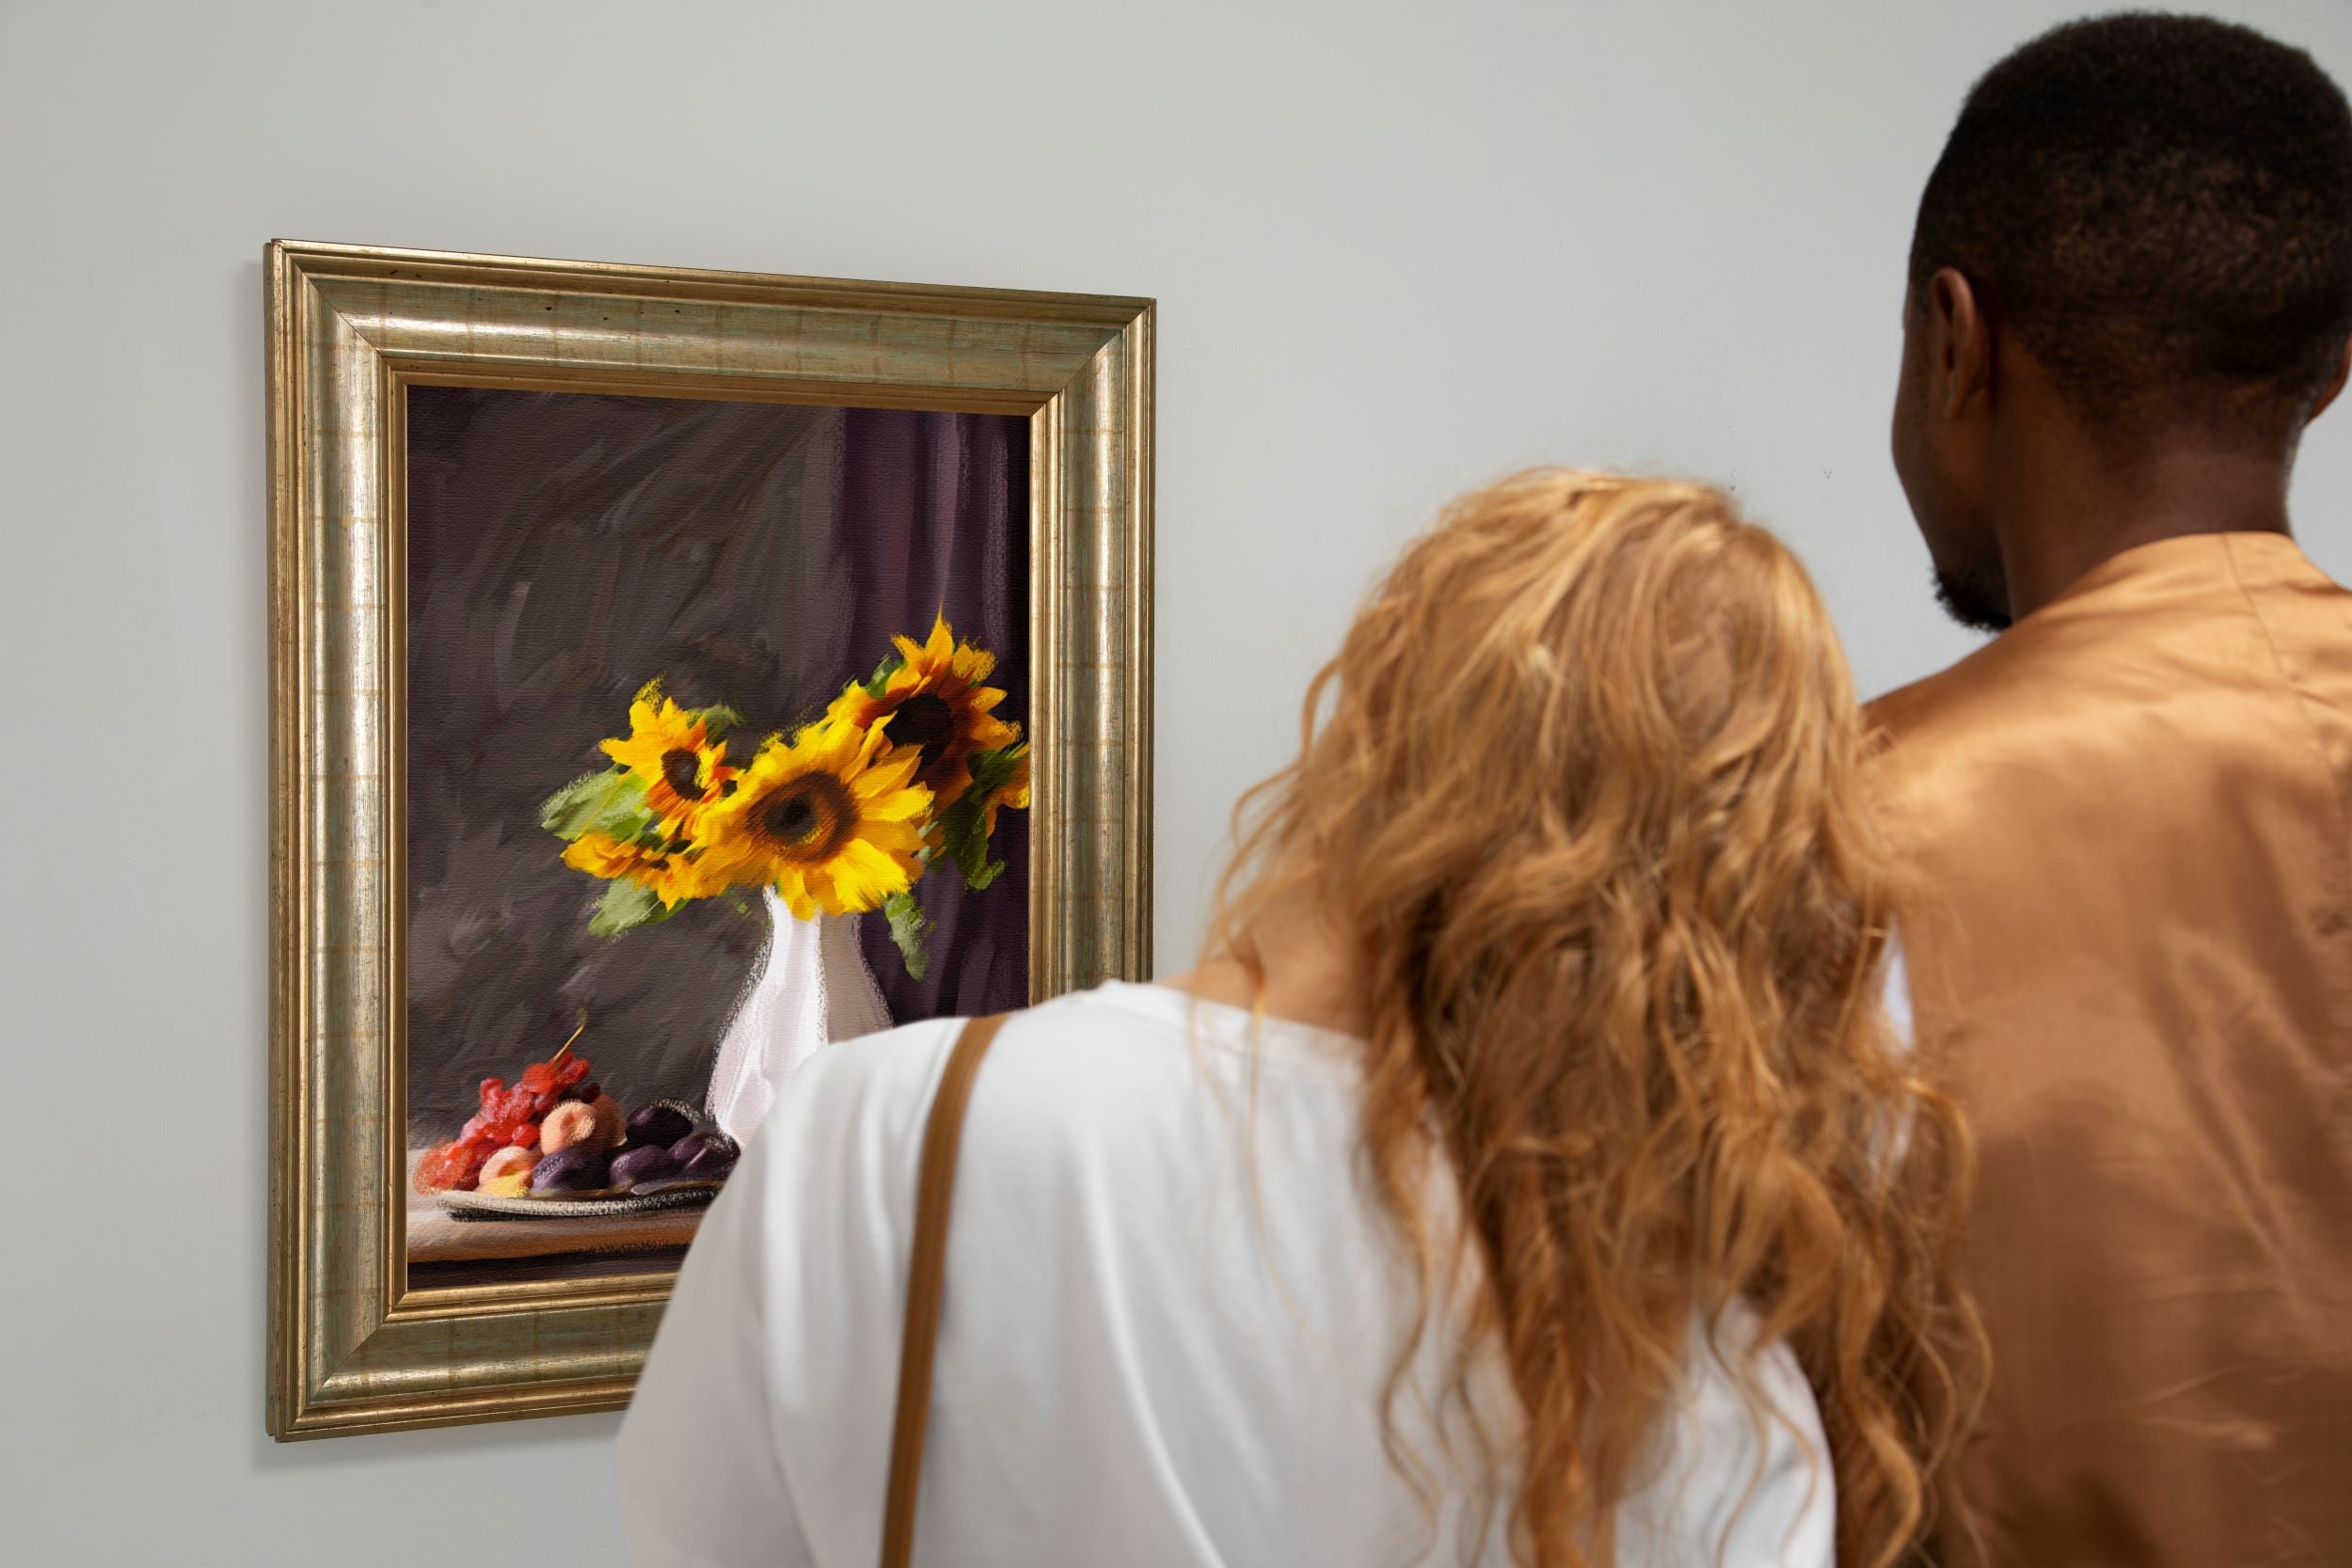
Mistakes are a normal part of learning, especially when you're starting out. As a beginner, it’s easy to make more mistakes than you realize. But don’t worry—every mistake is a chance to learn and improve. Calligraphy painting like from our art gallery - is a beautiful and rewarding art form that gets better with practice and patience. Feeling frustrated because your work isn’t turning out how you hoped? Let’s walk through 10 common calligraphy painting mistakes and explore simple ways to fix them.
10 Simple Calligraphy Painting Mistakes
1. Using the Wrong Tools
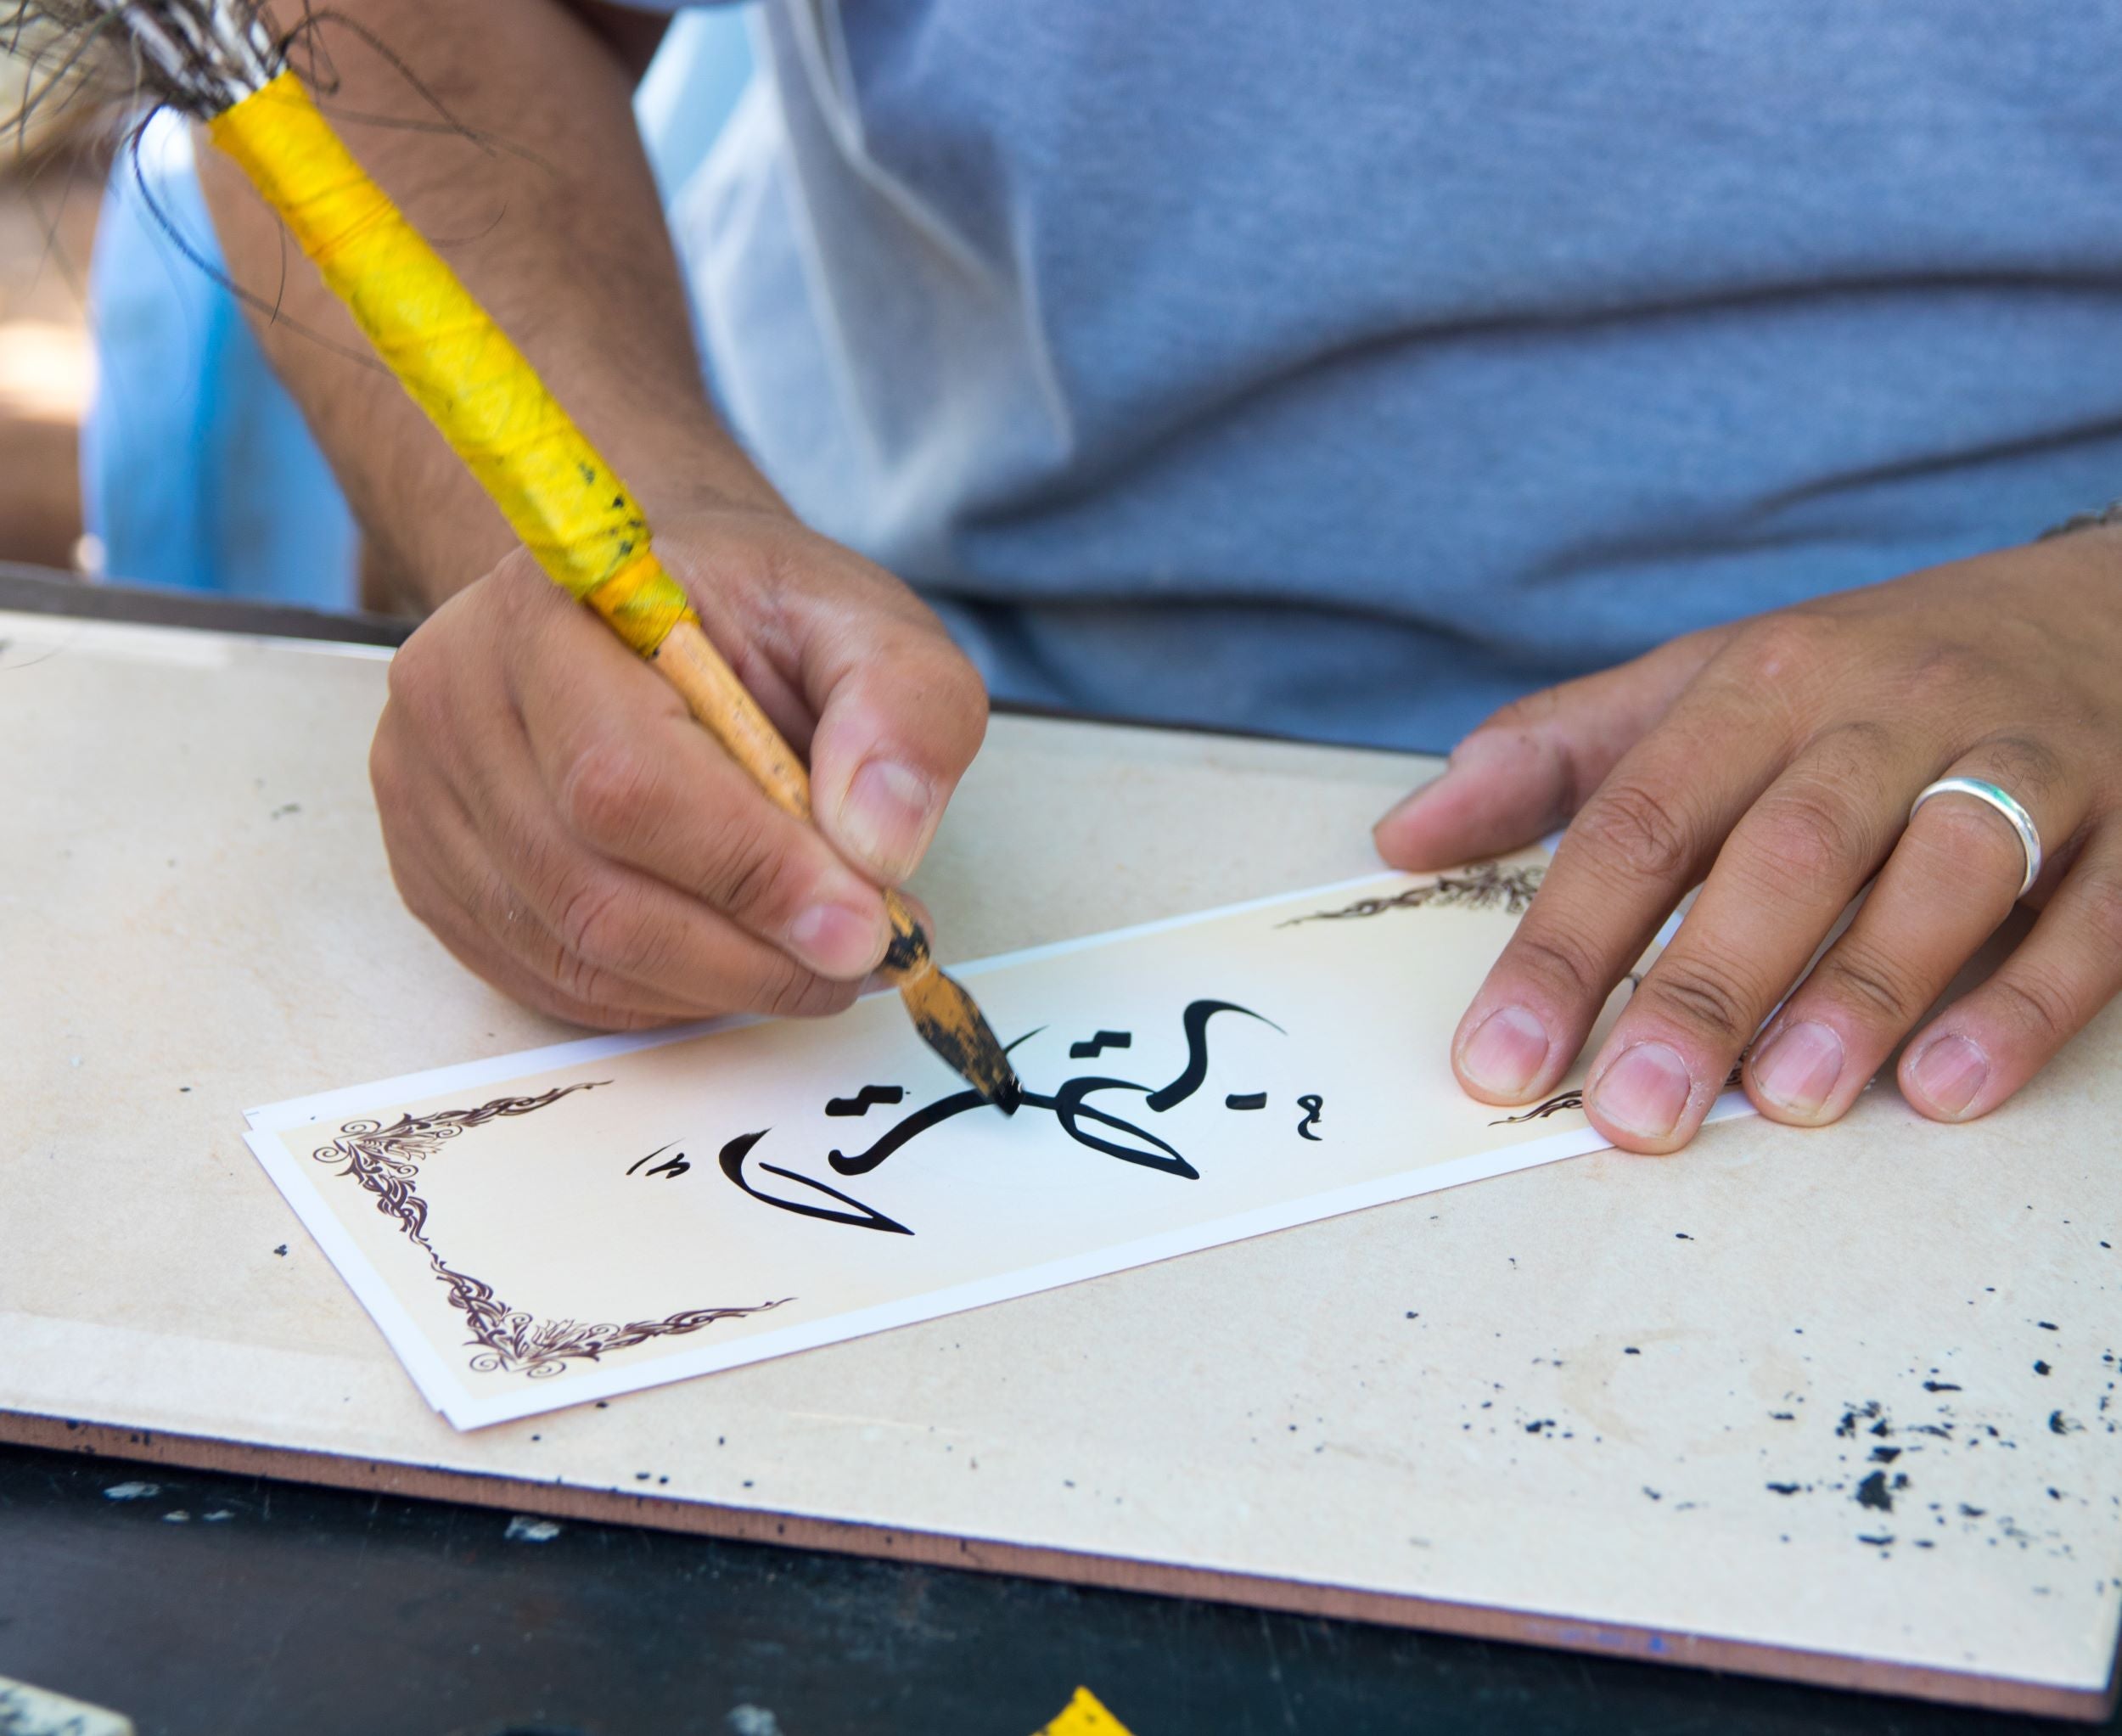
Your tools are the foundation of your work. Using the wrong brushes, inks, or papers can result in uneven strokes, blotchy paint application, or even damage to your materials. It’s tempting to start with cheap supplies, but they often lead to frustration and poor results.
What to Do:
Invest in good brushes like flat or round ones designed for painting. Use smooth-flowing paints or inks and thick paper that won’t smudge or warp. Watercolor paper is a great choice for beginners—it’s sturdy and forgiving.
Imagine trying to paint with a frayed brush on paper that absorbs too much paint. It’s frustrating and hard to get the results you want.
2. Skipping Practice
Calligraphy art is all about getting the basic strokes right, like upstrokes, downstrokes, curves, and loops. If you skip this important step, your writing might end up looking shaky and not at all like what you imagined.
What To Do:
Take some time to really focus on the basics. You can use practice sheets or guides that show you how to draw straight lines, curves, and simple shapes. This will help you develop muscle memory and get better control over your hand. It’s kind of like learning to play scales on the piano before you can play a real song—it might seem boring at first, but it’s super important for getting better in the long run.
If you don’t have any practice sheets, you can make your own by drawing straight lines and tracing basic letters or strokes. Just practicing for 10 to 15 minutes each day can really help you become more consistent over time.
3. Overloading or Underloading Your Brush
Getting the right amount of paint on your brush is like a skill you need to learn. If you have too much paint, it can make a mess with smudges and blobs, and if you have too little, your strokes might look dry and uneven, which isn’t very colorful.
What To Do:
Before you start your artwork, lightly dip your brush into the paint and try it out on a scrap piece of paper. You want to find a good balance where your brush has enough paint to make smooth lines without any drips. If your paint is thick, you can add a tiny bit of water to help it flow better. On the other hand, if it’s too runny, just mix in a little more paint to make it thicker.
Make sure to test and adjust your paint before you start on your main project—it really pays off in the end.
4. Applying Too Much Pressure
Using too much pressure can lead to thick, wobbly lines and might even ruin your tools or paper. Calligraphy painting works best with smooth, controlled movements, so it's really important to find the right amount of pressure to use.
What To Do:
Try practicing gentle, light strokes when you go up and a bit more pressure when you go down. Use some extra paper to play around with how hard you press until you get the hang of making your lines the right thickness. Remember, calligraphy is all about being graceful and having a nice flow—it’s not about pushing your brush down hard.
For those just starting out, making sure to relax your grip on the brush or pen can help keep your hand from getting too tense.
5. Neglecting Guidelines
Freehand calligraphy might seem like it just flows naturally, but it actually takes a lot of practice and careful work. Beginners often find it hard to keep their letters even, straight, and the same size without any guidelines.
What To Do:
To improve this, try using light pencil lines or templates to outline your design before you start painting. These guidelines help keep everything lined up and spaced out correctly. After your artwork dries, you can carefully erase the pencil marks so you don’t mess up the paint.
If you’re creating something bigger, it can help to break the canvas into smaller sections with faint lines. This way, your overall design will look more balanced.
6. Ignoring Paint Consistency
Paint consistency is really important, even if people don’t always think about it. If your paint is too thick, it can make your lines look bumpy and messy. On the other hand, if it’s too runny, it might spread out on the paper or dry weirdly.
What To Do:
To get the right consistency, mix your paint until it’s smooth and creamy. You can use a palette or a mixing tray to add a little water or more pigment until it feels just right. Always test the paint on some scrap paper to make sure it flows nicely and keeps its color.
If you’re working with different colors, make sure to mix each one to the same consistency. This way, all your strokes will look nice and match well together.
7. Rushing the Process
Being impatient can cause messy lines, smudges, or unfinished artwork. Calligraphy painting is a type of art that really benefits from being careful and paying attention to the little things.
What To Do:
Make sure to give yourself plenty of time to create your artwork without any interruptions. Take your time with each part, concentrating on one piece at a time. Keep in mind that the journey of creating is just as important as the final result. Hurrying can lead to mistakes that might ruin the quality of your work.
If you start to feel annoyed, it’s a good idea to take a break. Sometimes, looking at things with fresh eyes can really help.
8. Not Letting Paint Dry Between Layers
Layering is a key technique in calligraphy painting, but if you add new layers before the last one is dry, it can lead to smudges, bleeding, or colors getting all mixed up.
What To Do:
Make sure to let each layer dry all the way before you start the next one. If you need to hurry, you can use a hairdryer on a low setting to help it dry faster. Just be careful not to make the paint too hot, or it might ruin the paper or make the colors look dull.
Patience here can transform your work from good to great.
9. Overcomplicating Designs
Trying to include too many elements in one piece can make your work look cluttered and chaotic. It might be fun to add lots of decorations, but keeping it simple usually makes a bigger impression.
What To Do:
To improve this, begin with simple designs that highlight good composition and balance. Pay attention to creating smooth lines and shapes. As you get better, you can slowly introduce more details to your work.
Consider your artwork like a story—each part should have a reason and help convey the main idea.
10. Neglecting Brush Care
Your brushes are super important tools, and if you don’t take care of them, they can get all messed up with frayed bristles, not work well, or you might have to keep buying new ones.
What To Do:
Make sure to clean your brushes really well after you use them. If you’re using water-based paints, just rinse them with warm water and some gentle soap. For oil-based paints, use the right solvent. After you clean them, reshape the bristles and store them either standing up or lying flat to keep them safe.
By taking good care of your brushes, you’ll make them last longer and help your painting strokes stay sharp and even.
Take your time, enjoy the process, and watch your skills flourish.